
How Proper Base Preparation Prevents Interlocking Paver Problems
When installing an interlocking sidewalk, walkway, patio, or driveway, most homeowners focus on choosing the right paver colour, pattern, and design. But there is one part of the project that often gets overlooked—the base underneath the pavers.
A beautiful interlocking surface is only as strong as the foundation supporting it.
At Best Pro Landscape, we know that proper preparation is the key to creating an interlocking installation that looks great and performs well over time. From excavation and grading to compaction and drainage, every step matters.
Why Does the Base Matter?
Interlocking pavers need a stable, well-prepared foundation. Without one, the surface can begin to move as the ground settles or as water and seasonal weather affect the soil.
Poor base preparation can lead to:
- Uneven or sunken pavers
- Pavers shifting or spreading
- Water pooling on the surface
- Loose or unstable areas
- Uneven walkway edges
- Weed growth in joints
- Damage caused by freeze-thaw conditions
Fixing these problems later can be more expensive and time-consuming than getting the installation right from the beginning.
Step 1: Proper Excavation
Every successful interlocking project starts below the surface.
The existing soil and unsuitable materials need to be removed to create enough space for the foundation. The required excavation depends on the type of project, soil conditions, drainage, and expected use of the area.
At Best Pro Landscape, we look at the site as a whole before beginning the installation. Proper preparation helps create the conditions needed for a stable finished surface.
Step 2: Preparing and Compacting the Soil
Once the area has been excavated, the underlying soil needs to be properly prepared and compacted.
Why is this important?
If the soil underneath the pavers is loose, it can settle over time. When that happens, the pavers above it can sink or become uneven.
Proper compaction creates a more stable foundation and helps minimize unwanted movement.
Step 3: Preparing and Reinforcing the Base
A strong interlocking walkway starts with what you don’t see—the foundation underneath the pavers.
Once the area has been properly excavated, the next step is to prepare a stable base. At Best Pro Landscape, this stage is carefully completed to help ensure the finished interlocking surface remains strong, level, and durable.
Building a Solid Foundation
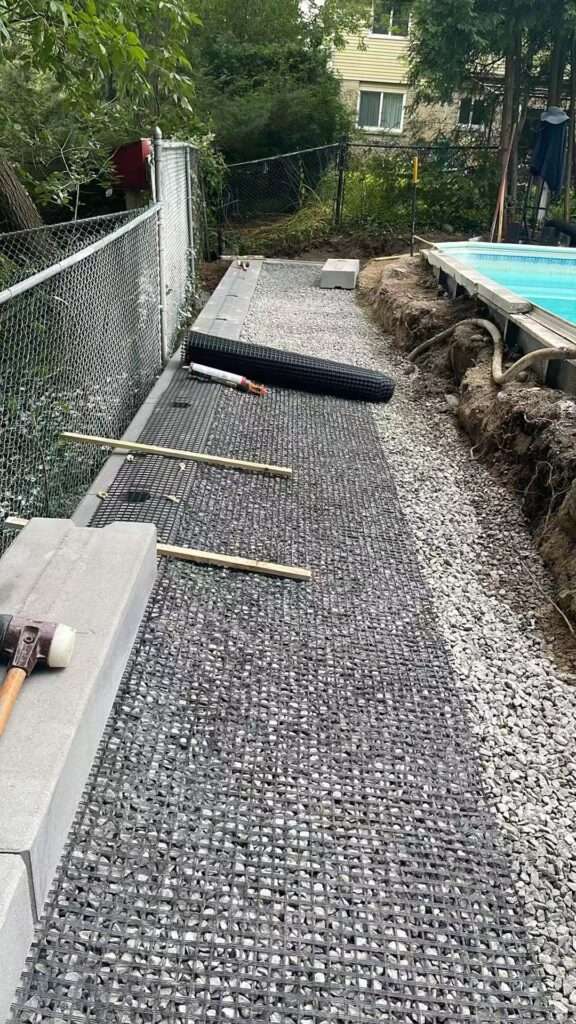
The prepared area is filled with the appropriate aggregate material, which is spread evenly and compacted to create a firm foundation. Proper compaction is essential because loose or poorly prepared material can settle over time, causing pavers to sink, shift, or become uneven.
Adding Base Reinforcement
Depending on the site and project requirements, reinforcement grid/geogrid may be installed over the prepared base. As shown in the project photo, the grid provides additional reinforcement and helps improve the stability of the base, particularly where ground conditions require extra support.
Preparing for the Pavers
Once the base and reinforcement are properly installed, the surface is carefully levelled and prepared for the next stage of the installation. Edge restraints are also positioned to help keep the interlocking system securely in place.
This preparation may take more time than the actual paver installation, but it is one of the most important parts of the entire project.
Step 4: Getting the Grade and Drainage Right
Water management is another major consideration.
If water cannot drain properly, it may collect underneath or around the pavers. Over time, this can contribute to erosion, settling, and other surface problems.
Proper grading helps direct water away from unwanted areas and toward appropriate drainage points.
For homeowners, this means a properly planned installation isn’t just about making the walkway look good—it’s also about making sure water has somewhere to go.
Step 5: Installing the Pavers Properly
Once the foundation is prepared, the pavers can be installed over the properly prepared bedding layer.
The pavers are carefully positioned to create the desired pattern and layout. Consistent spacing and alignment contribute to a clean, professional appearance.
After installation, the surface is compacted and the joints are properly completed to help lock the pavers together.
Step 6: Protecting the Edges
Edge restraints are an important part of many interlocking installations.
Without proper edge support, pavers at the perimeter can gradually move outward, affecting the appearance and stability of the entire installation.
A properly finished edge helps keep the pavers in position and gives the project a clean, finished look.
Why Ontario Homeowners Should Pay Attention to Base Preparation
Ontario weather can be tough on outdoor surfaces. Rain, snow, freezing temperatures, and repeated freeze-thaw cycles can affect soil and hardscape installations.
While proper installation cannot eliminate every potential issue, a well-prepared base, good drainage, and proper compaction can help an interlocking surface better handle normal seasonal conditions.
That’s why choosing an experienced landscaping contractor is important when investing in an interlocking project.
Don’t Let a Beautiful Paver Design Hide a Weak Foundation
You can choose premium pavers and a beautiful pattern, but if the foundation isn’t prepared correctly, problems can develop underneath the surface.
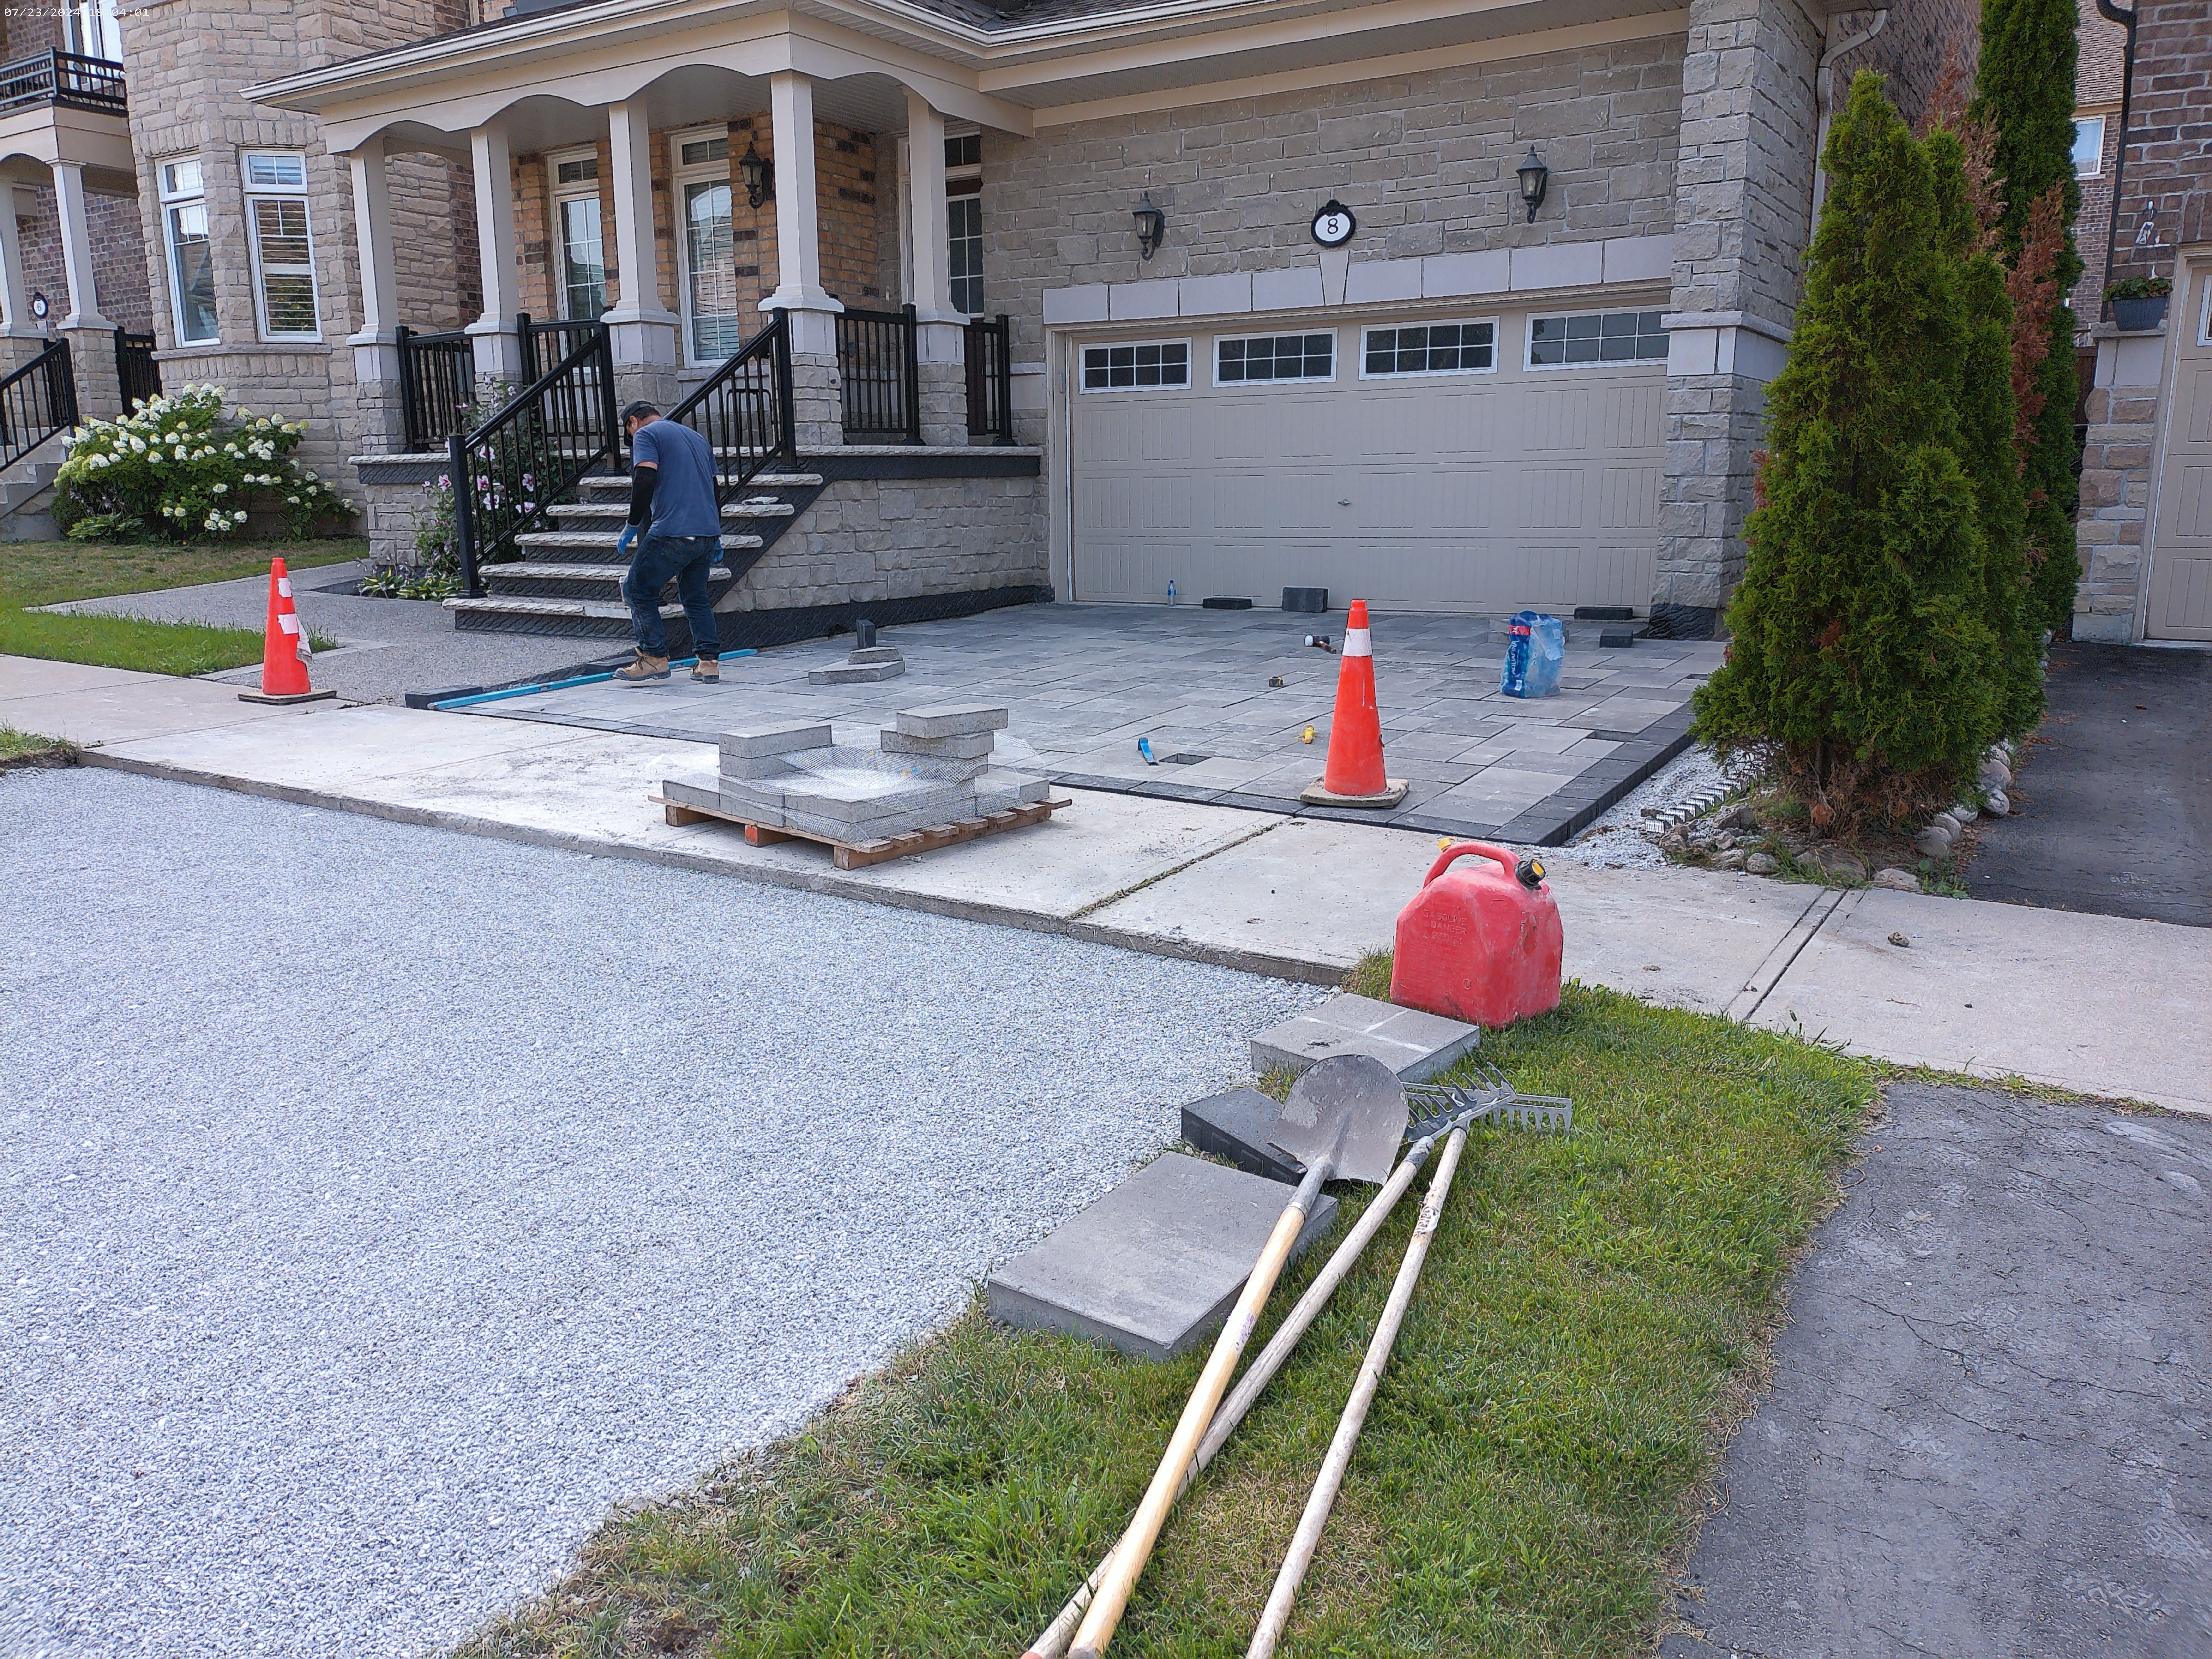
A professional installation should focus on more than what you see. The excavation, soil preparation, base construction, grading, drainage, compaction, and finishing all contribute to the final result.
Why Choose Best Pro Landscape?
At Best Pro Landscape, we take a complete approach to interlocking projects.
Whether you’re looking to upgrade your front walkway, sidewalk, patio, driveway, or backyard, we focus on creating an installation that combines appearance, functionality, and proper preparation.
Our goal is simple: to help homeowners get an outdoor space they can enjoy—not a project they have to keep repairing.